Firmware upgrades are not required without explicit notification. We are not responsible for errors resulting from incorrect firmware upgrades.
OTA UPGRADE
OTA (Over-the-Air) Upgrade
The Over-the-Air (OTA) upgrade allows you to update your device’s firmware wirelessly. Follow these steps:
-
Prepare the firmware file
Download the firmware.zip file from the Nautilis website.
Unpack the .zip file into firmware.bin -
Connect to the device
Connect to the WiFi network emitted by the device.
Use the password provided with the device. -
Access the device interface
Open a web browser and enter 192.168.4.1 in the address bar.
This will take you to the device management interface. -
Start the upgrade
Locate the Firmware Update, OTA Upgrade, or similar option.
Select the firmware.bin file you downloaded.
Click Upgrade and wait a few minutes for the process to complete. -
Finish the upgrade
Once the update is complete, an OK message will appear.
The device will automatically restart and will be ready to use with the new firmware.
UPGRADE VIA USB CABLE
WHEN?
Sometimes IOS or other devices can interrupt WiFi signal and thus interrupt the OTA firmware upgrade. Then the device no longer transmits WiFi signal and OTA upgrade is not possible. And only thing left is to upgrade via USB cable. This way of upgrading the firmware is possible on Ispindel or relay devices.
HOW?
For this procedure, you need a USB cable to connect Wemos (or another controller) to your computer. Then you need some kind of Flasher to upload and a Driver for your version of Wemos. It all depends on the system you are using on your computer. We will update this page with new information over time.
FLASHER
For Windows https://github.com/nodemcu/nodemcu-flasher
WEMOS BOARD Driver
Wemos D1 mini driver Or Wemos D1 mini pro (4MB) driver For Win or Mac https://www.wemos.cc/en/latest/ch340_driver.html or https://www.silabs.com/developers/usb-to-uart-bridge-vcp-drivers It depends on where your computer recognizes your hardware and assigns it a PORT
Where to connect USB in iRelay plus?
You must open the relay. For this you need a flat-blade screwdriver or solid nails Carefully open the lid and remove the Wemos board from the slot. You plug the USB cable into it. Then select the correct settings in the Flasher and click on the Flash button. New versions of the relay have a 3d printed housing. It opens from the back. There is a visible Wemos controller that needs to be removed (slowly pulled) and connect to the USB outside the housing
Where to connect USB in iRelay NXT?
On the NXT version of the device, you don’t have to open the box, just plug the cable into the USB C port.
Flasher Settings
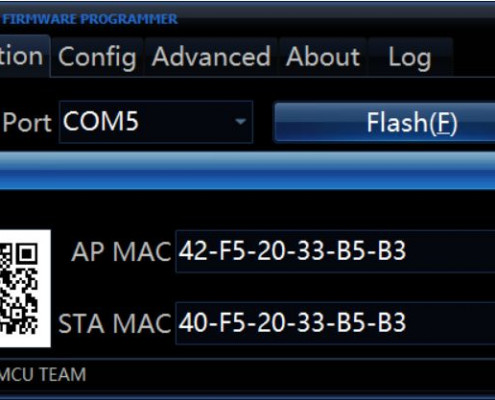
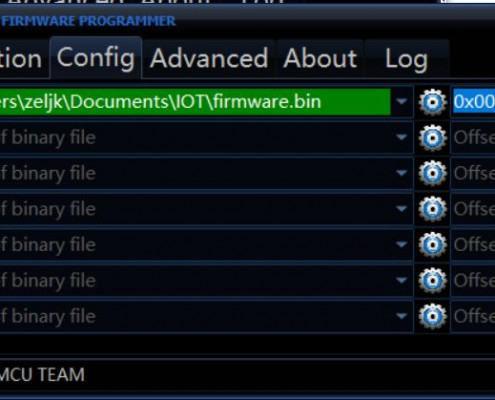
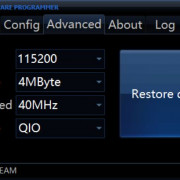
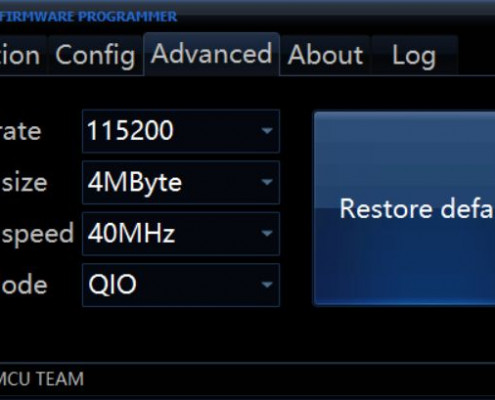
Select the port where the Wemos are located (Image1). If the port is incorrect the upload will not be possible, so change it to correct later. Select the firmware.bin file from your computer (Image 2) Set the settings as in Image 3 Select the firmware.bin file from your computer (Image 2) Set the settings as in Image 3

