


Nautilis thermometer management system
View and edit thermometer settings (no internet required)
To view and change the device settings, first connect to the WiFi network that the device transmits, which is usually: nautilis_Sensor. The network password comes on the paper with the device. After connecting to the network, some devices automatically open the Internet browser, and some require you to open the Internet browser and go to the address: 192.168.4.1
After that, the Nautilis thermometer managment home page opens where you can view and edit the following settings:
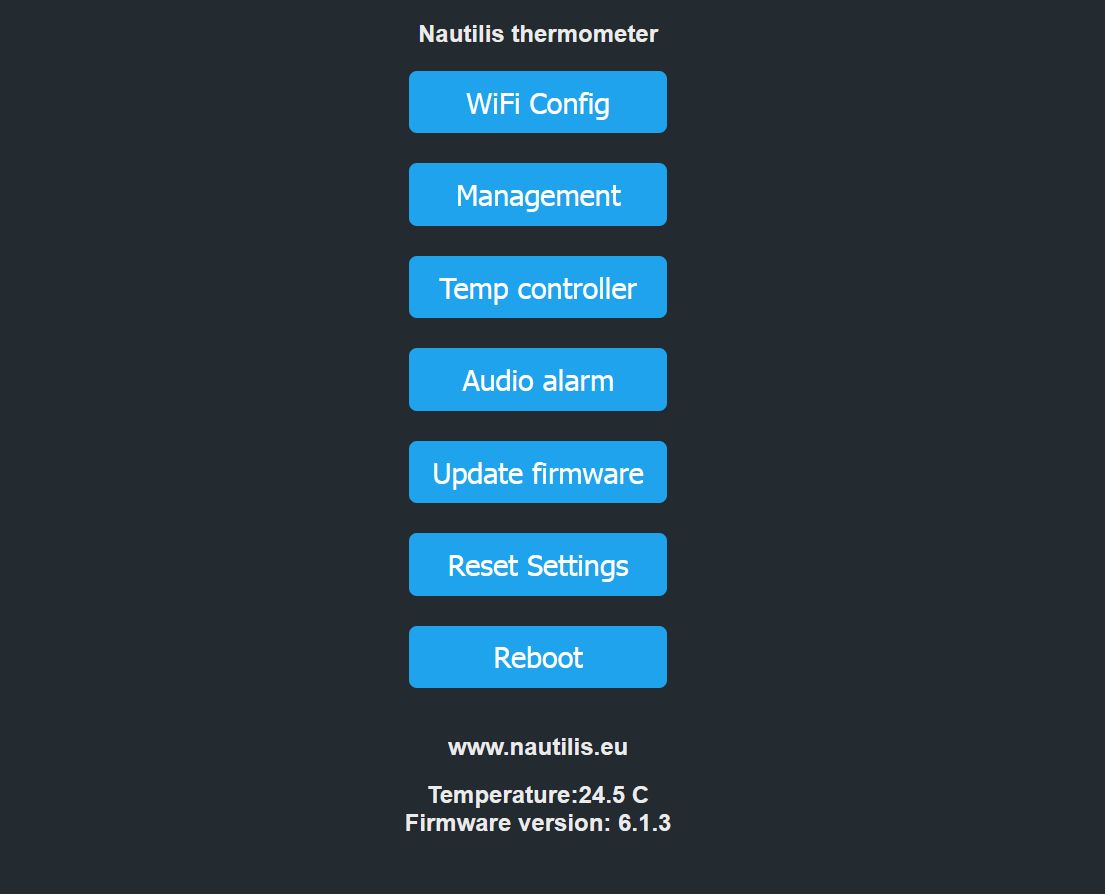
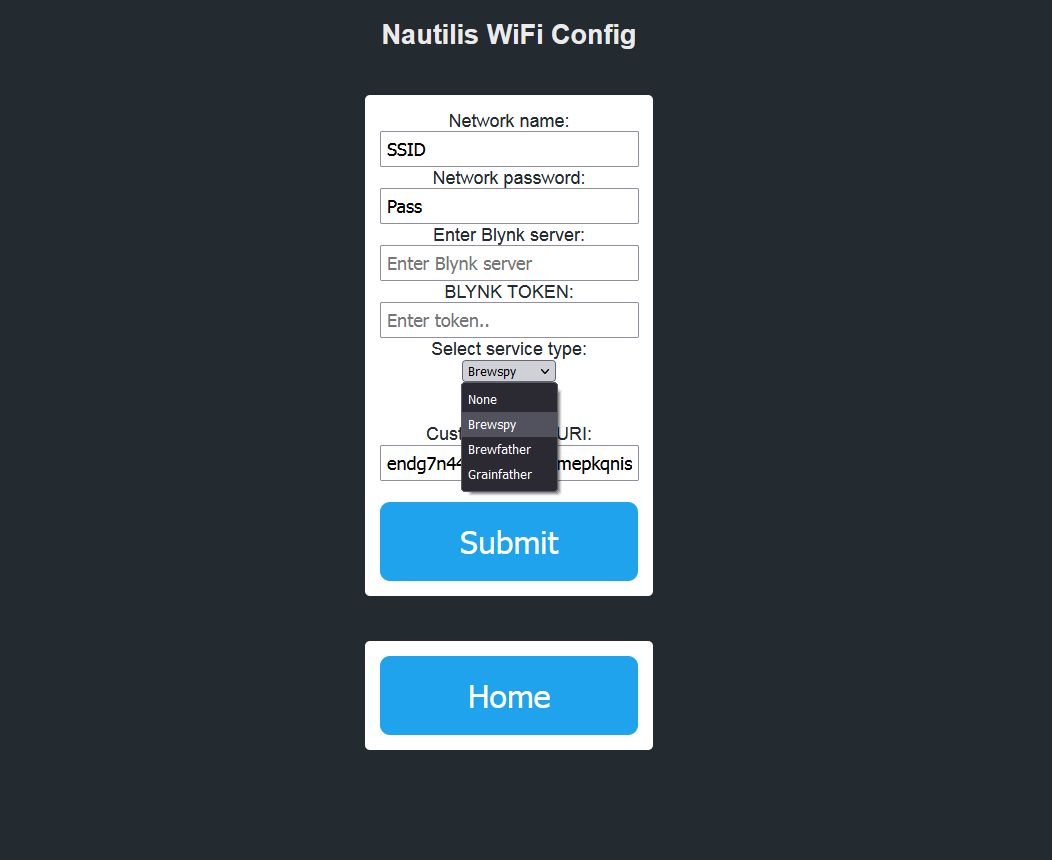
WiFi Config
SET UP ONLINE SERVICES
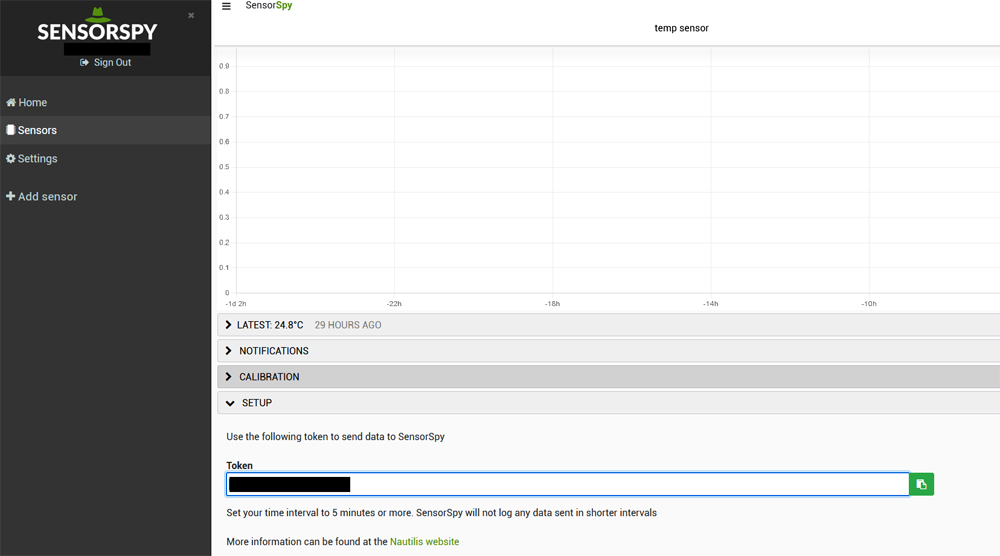
SensorSpy
 In SensorSpy app or web site you can view graphs and stats, keep a record of your data history, receive alert notifications and more. SensorSpy gathers the data that your Nautilis wiFi thermometer collects and lets you access them using an Android app or though the web app version.
You must enter your WiFi network data in the Network name and password fields. Watch out for uppercase and lowercase letters!
The SensorSpy service must be marked and stored on the thermometer. Then a new field appears in the relay settings: Custom Stream URI in which you need to paste the SensorSpy token from the SensorSpy setup menu.
You can select the temperature sending interval of 5, 15 or 60 minutes.
Click the SUBMIT button and reboot the device.
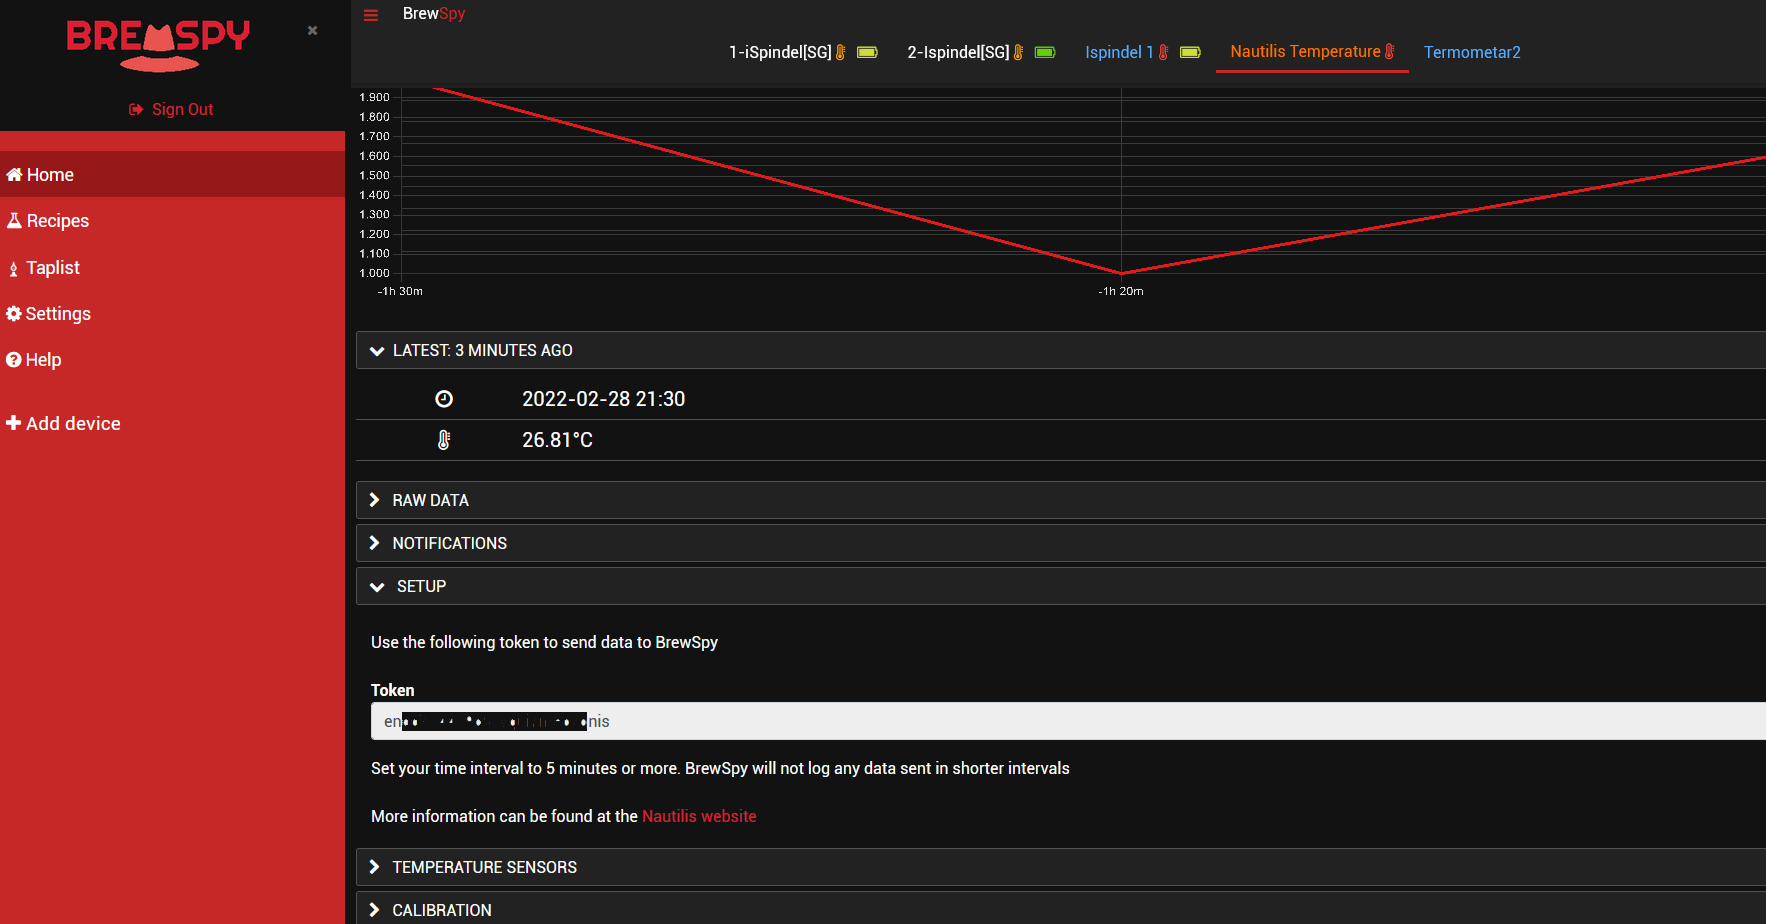
BrewSpy
 BrewSpy on your homebrews as they ferment, view graphs and stats, keep a record of your brewing history, receive alert notifications and more. BrewSpy gathers the data that your Nautilis wiFi thermometer collects and lets you access them using an Android app or though the web app version.
You must enter your WiFi network data in the Network name and password fields. Watch out for uppercase and lowercase letters!
The BrewSpy service must be marked and stored on the thermometer. Then a new field appears in the relay settings: Custom Stream URI in which you need to paste the BrewSpy token from the BrewSpy setup menu.
You can select the temperature sending interval of 5 or 15 minutes.
Click the SUBMIT button and reboot the device.
Brewfather
![]() Brewfather is a brewing software made from the ground up to give you the best recipe design and brewing experience on both desktop and mobile devices. With a modern design that is easy to use. Get your recipes done in no time! With automatic synchronization between all your devices and offline support.
Brewfather is a brewing software made from the ground up to give you the best recipe design and brewing experience on both desktop and mobile devices. With a modern design that is easy to use. Get your recipes done in no time! With automatic synchronization between all your devices and offline support.
Available as a web app and download on Google Play or the App Store. Brewfather can be used on any device. Add it to your home screen or desktop without having to install anything: Simply open it in the browser and add it to your home screen, or download the app version.
You must enter your WiFi network data in the Network name and password fields. Watch out for uppercase and lowercase letters!
The Brewfather service must be marked and stored on the thermometer. Then a new field appears in the relay settings: Custom Stream URI in which you need to paste the Brewfather URL for the Custom stream.
Custom stream URI should look like example: /stream?id=123456789
The temperature sending interval must not be less than 15 minutes.
Click the SUBMIT button and reboot the device.
![]()
Blynk IOT
First, it is necessary to register Blynk IOT through the website or mobile app. To set up your device on Blynk, ask for our help to make it easy for you. Data is sent to Blynk at 10-second intervals and is bidirectional.
You must enter your WiFi network data in the Network name and password fields. Watch out for uppercase and lowercase letters!
The Bynk service must be marked and stored on the thermometer. Then after back up a new field appears in the settings: Custom Stream URI or token in which you need to paste the Blynk token from Blynk website.
Click the SUBMIT button and reboot the device.
How to set up the BLYNK application?
Create a new Device (Hardware: Arduino; Connection Type: WiFi; Offline ignored period: 10 min)
Create a new Datastream: Low Temperature Alarm; Virtual Pin V14; Data Type Integer, High temperature alarm; Virtual Pin V15; Data Type Integer, Temperature; Virtual Pin V10; Data Type: Double
Create new Events; Low temperature alarm; Code: an-s1; High temperature alarm; Code: Av-s1; Sensor error; Code: s1_error
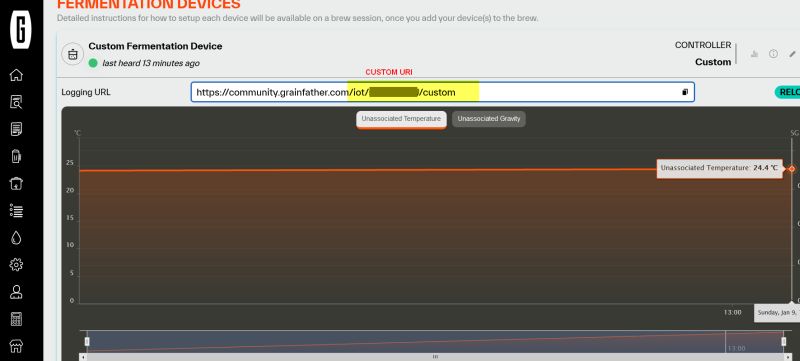
Grainfather
![]() Whether you’re an Android or Apple user, download the app on your mobile, connect your device to your brewing equipment and let the step-by-step notifications guide you through your brew.
Whether you’re an Android or Apple user, download the app on your mobile, connect your device to your brewing equipment and let the step-by-step notifications guide you through your brew.
You must enter your WiFi network data in the Network name and password fields. Watch out for uppercase and lowercase letters!
The Grainfather service must be marked and stored on the thermometer config menu. Then a new field appears in the relay settings: Custom Stream URI in which you need to paste the Grainfather URI for the Custom controller.
Custom controller URI should look like example: /iot/abc-efg/custom
The temperature sending interval must not be less than 15 minutes.
Click the SUBMIT button and reboot the device.
UbiDots
 Systems Integrators, IoT Entrepreneurs and OEMs effortlessly self-construct Internet of Things (IoT) applications and connected services with Ubidots’ data collection, analysis, and visualization tools.
You must enter your WiFi network data in the Network name and password fields. Watch out for uppercase and lowercase letters!
The UbiDots service must be marked and stored on the thermometer. Then a new field appears in the settings: Token in which you need to paste the Ubidots token from the Ubidots site.
You can enter the temperature sending interval as desired. (in seconds)
Click the SUBMIT button and reboot the device.
MQTT
 You must enter your WiFi network data in the Network name and password fields. Watch out for uppercase and lowercase letters!
The Mqtt service must be marked and stored on the thermometer. Then a new field appears in the settings: MQTT server: Here you enter the link or IP address of the server. User & password: Here you enter the username and password if it is set on the server.
You can enter the temperature sending interval as desired. (in seconds)
Click the SUBMIT button and reboot the device.
To view the data on the client, it is necessary to enter the topic: ap_ssid_of device/temperature
Since each device must have a different ap ssid, that is precisely the difference in the topic. Therefore, multiple identical devices can be used to send to MQTT
The port is hardcoded to 1883
HOME ASSISTANT

Connecting a device to MQTT and integrating it with Home Assistant involves establishing communication between the device and the MQTT broker, and then configuring Home Assistant to automatically recognize and interact with the device. Here’s a simplified description without delving into the YAML configuration file:
HTTP
 HTTP (Hypertext Transfer Protocol) is a protocol that enables the exchange of data over a network. With the Nautilis termometer or Nautilis iPressure, you can send data using the HTTP protocol to other devices or servers that can process and display the data or use it for another purpose. HTTP allows for fast and easy data exchange and is one of the most commonly used protocols for data exchange on the internet. You must enter your WiFi network data in the Network name and password fields. Watch out for uppercase and lowercase letters!
The HTTP service must be marked and stored on the thermometer. Then a new field appears in the settings: Server Address: Here you enter the link or IP address of the server. Custom Stream URI or token: Here you enter the custom stream/URI/PATH of the server.
You can enter the temperature sending interval as desired. (in seconds)
Click the SUBMIT button and reboot the device.
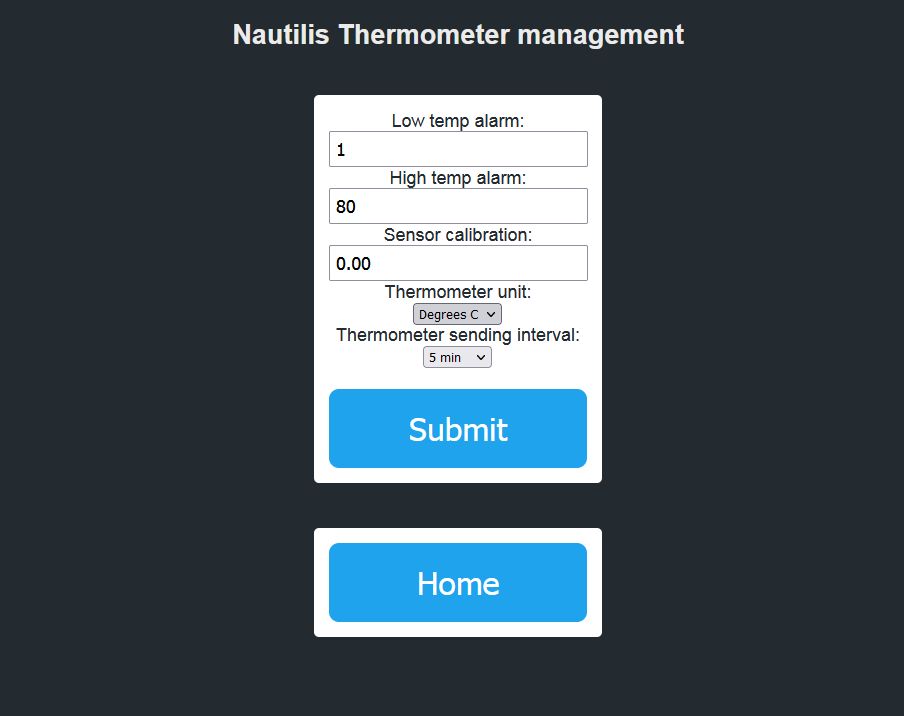
Management
Here you change the alarm and sensor settings.
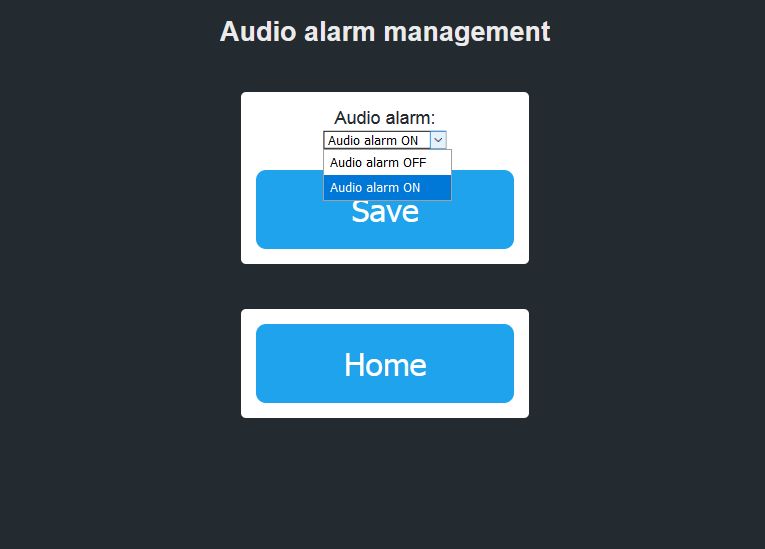
Audio alarm
Here you can turn the thermometer audible alarm on or off.
Reset settings
Reboot
Opening this link will reboot the device
