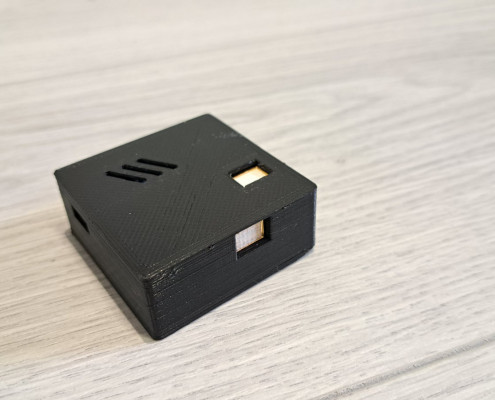
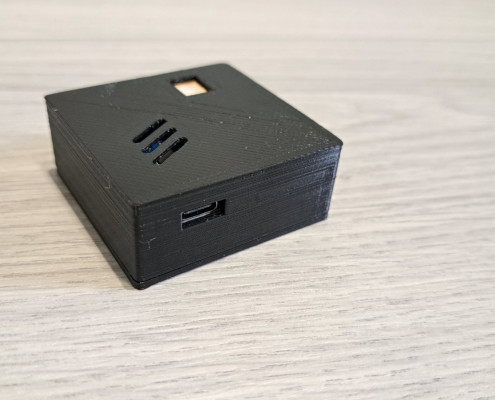
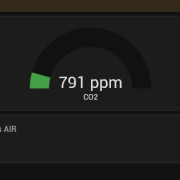
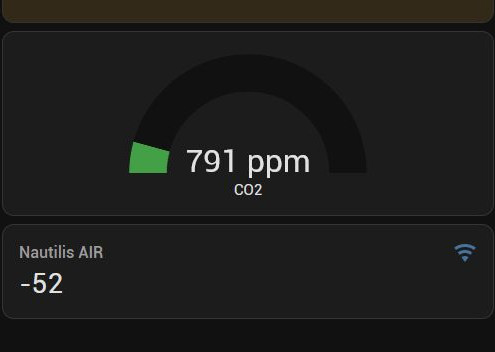
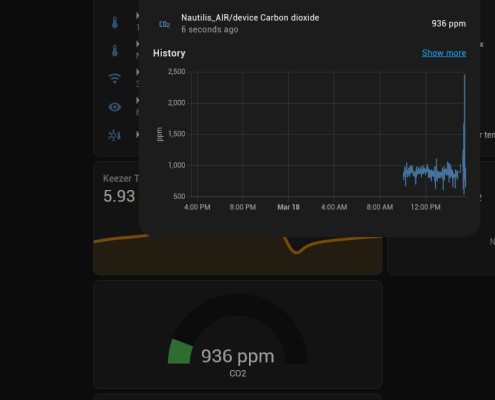
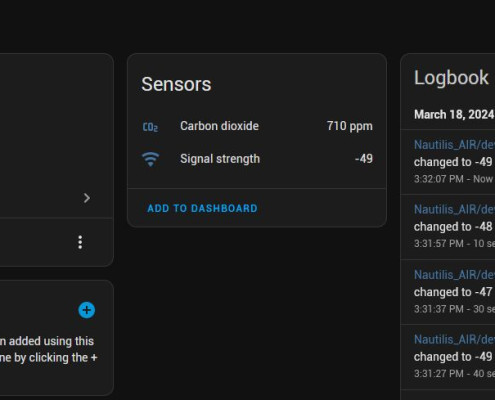
Nautilis CO2 sensor is Carbon dioxide gas sensor that uses non-dispersive infrared (NDIR) principle to detect the presence of CO2 in the air, with good selectivity and anaerobic Gas dependence, long life and other characteristics; built-in temperature compensation. The sensor is a high-performance sensor that combines mature infrared absorption gas detection technology with precise optical path design and sophisticated circuit design. It sends data to the desired services via the Wi-Fi network. MQTT (Home assistant) and HTTP are currently available.
Parameters:
- Product model number: MH-Z19B
- Gas Detection: Carbon Dioxide
- Supply voltage: 4.5~5.5V DC
- Average current: <20mA (@5V power supply)
- Peak current: 150 mA (@5V supply)
- Interface level: 3.3V (5V compatible)
- Measurement range: 400~5000ppm can be selected within the range
- Warm-up time: 3min
- Response time: T90<120s
- Working temperature: 0~50°C
- Operating Humidity: 0 to 95% RH (non-condensing)
Characteristics:
- Gas chamber with gold plating, waterproof and corrosion resistant
- High sensitivity, low power consumption
- Temperature compensation, excellent linear output
- long lasting
- Water vapor interference, not poisoning
Application:
- HVAC refrigeration equipment
- Air quality monitoring equipment
- Fresh air system
- Air purification equipment
- Smart home
Nautilis management system
View and edit settings (no internet required)
To view and change the device settings, first connect to the WiFi network that the device transmits, which is usually: nautilis_Sensor. The network password comes on the paper with the device. After connecting to the network, some devices automatically open the Internet browser, and some require you to open the Internet browser and go to the address: 192.168.4.1
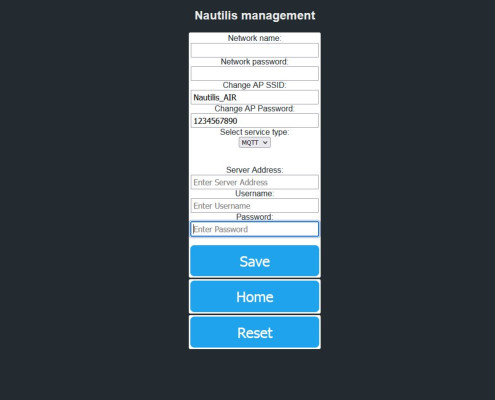
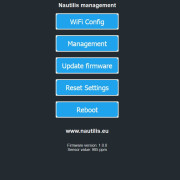
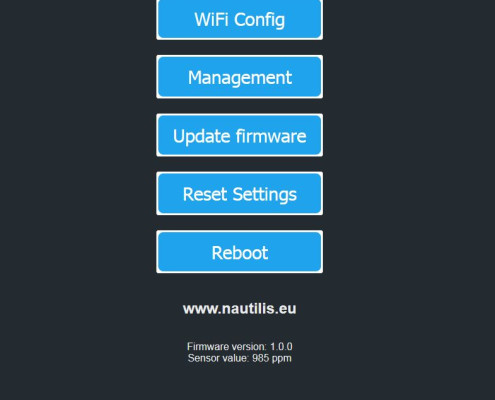
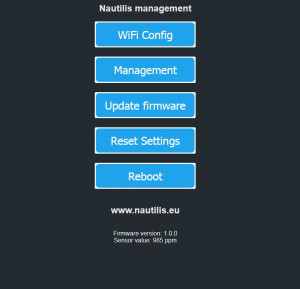
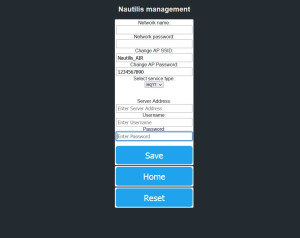
After that, the Nautilis thermometer managment home page opens where you can view and edit the following settings:
WiFi Config
SET UP ONLINE SERVICES
MQTT
 You must enter your WiFi network data in the Network name and password fields. Watch out for uppercase and lowercase letters!
The Mqtt service must be marked and stored on the thermometer. Then a new field appears in the settings: MQTT server: Here you enter the link or IP address of the server. User & password: Here you enter the username and password if it is set on the server.
You can select the temperature sending interval of 1, 5,15 or 60 minutes.
Click the SUBMIT button and reboot the device.
HOME ASSISTANT

Connecting a device to MQTT and integrating it with Home Assistant involves establishing communication between the device and the MQTT broker, and then configuring Home Assistant to automatically recognize and interact with the device. Here’s a simplified description without delving into the YAML configuration file:
HTTP
 HTTP (Hypertext Transfer Protocol) is a protocol that enables the exchange of data over a network. With the Nautilis termometer or Nautilis iPressure, you can send data using the HTTP protocol to other devices or servers that can process and display the data or use it for another purpose. HTTP allows for fast and easy data exchange and is one of the most commonly used protocols for data exchange on the internet. You must enter your WiFi network data in the Network name and password fields. Watch out for uppercase and lowercase letters!
The HTTP service must be marked and stored on the thermometer. Then a new field appears in the settings: Server Address: Here you enter the link or IP address of the server. Custom Stream URI or token: Here you enter the custom stream/URI/PATH of the server.
You can select the temperature sending interval of 1, 5,15 or 60 minutes.
Click the SUBMIT button and reboot the device.
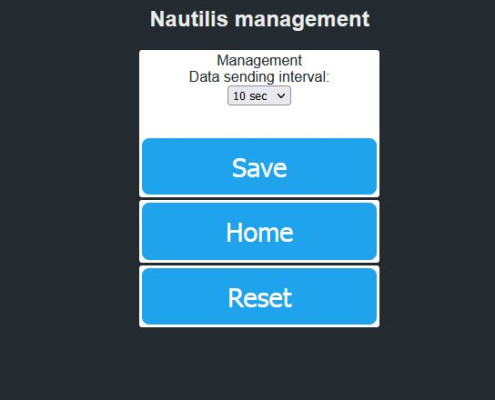
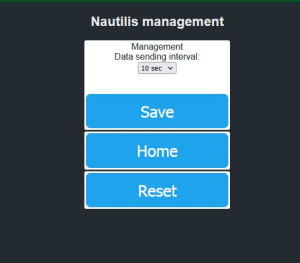
Management
Here you change send interval
Reset settings
Reboot
Opening this link will reboot the device

