
 The device is no longer available!
Nautilis WiFi temperature controller is a device designed to improve quality in monitoring, control and temperature adjustment. It was originally designed to control fermentation, but due to its adaptability, various performances and control via a mobile application, it is used wherever it is necessary to control the temperature (heating / cooling) from a remote location via WiFi application. Each controller has its own local website where all the device settings are located, and also the settings are located on the Blynk mobile app. All settings you make with the application or web interface are saved in the device memory. The device can have 3 temperature sensors, and the number of sensors depends on how many devices need to be controlled. Two temperature sensors are on the cable of various lengths (1,2,3,10 meters), and the third is installed directly on the PCB and measures the temperature of the room or box in which is installed. The WiFi controller has support for receiving data from 2 digital hydrometers (Ispindels) which shows on the 2″ quality LCD display, web interface and forwards them to the Blynk application. An internet signal is not required for the operation of the digital hydrometer (Ispindel), but the controller sends its signal to the hydrometer. WiFi temperature controller can be made with an external WiFi antenna which greatly improves the signal to the iSpindle located in the fermenter, and also to the home router. In tests, the digital hydrometer signal reaches the controller without any problems, even when the hydrometer is in a stainless steel fermenter, which is extremely important. Also, the hydrometer battery lasts longer in this mode. In home brewing, it is an ideal tool for fermentation, and at the same time a great choice for a keezer or kegerator.
The firmware for the operation of the device is constantly being upgraded and improved just like the development of the PCB board design.
For reliable operation of the device, an environment without electromagnetic interference is recommended, but the electronics design itself is specially designed to minimize them.
The controller is intended for hobbyists and can be built into existing boxes on their own, but any unprofessional handling can be dangerous and is not advisable. All safety and legal operating instructions must be observed for installation.
Nautilus is not responsible for any damage caused by the controller.
Latest firmware version: 6.0.8
Characteristics and performances of the device:
The controller is currently available in 3 versions. Mini, midi and maxi.
Mini version: Under construction
Midi Version: PCB board has the ability to install 2 relays (cooling, heating), 3 thermometers, while for expansion to 2 more relays is done with relay modules.
Maxi version: PCB board has the possibility of installing 4 relays (2 x cooling, 2 x heating), 3 thermometers.
Each PCB board has 110-230V to 5V transformer, Relays are Omron 16A
If you want the controller to only heat or only cool, it is not necessary to install these relays. If they are already installed, they are switched off and on via the controller’s web interface
Controller capabilities:
- Possibility to control up to 4 relays (2 heating / 2 cooling, 1 heating / 1 cooling, only 2 heating, only 2 cooling, 1 heating, 1 cooling,
- Setting and reviewing all device parameters via the controller’s web interface,
- Setting the desired fermentation temperature via mobile application – Blynk,
- Temperature hysteresis at which the cooling or heating relay is switched on (2 hysteresis enabled for control of 2 fermenters)
- Delay – delay time for switching on cooling or heating (in case of version for control of 2 fermenters, each has its own Delay),
- Each sensor has the ability to calibrate,
- temperature graph at a given time,
- specific gravity graph,
- overview of all iSpindel hydrometer data on the application or controller interface (specific gravity, angle, signal, temperature, battery status)
- high temperature alarm (sound, mail, mobile phone) for 2 sensors,
- low temperature alarm (sound, e-mail, mobile phone) for 2 sensors,
- display of heating or cooling on status on the mobile application,
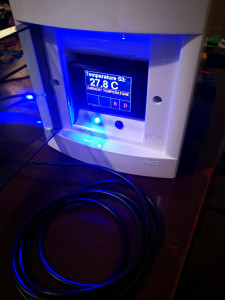
- display of actual, set temperature, heating or cooling status, display of settings and connection status to Blynk on 2 ”LCD color display.
- protection against malfunction or error of the temperature probe (reports by mail, mobile phone and audible alarm),
- WiFi disconnection notification
- various lengths of temperature measuring probes (1,2,3,10 meters),
- no losses of saved settings in case of power or internet failure.
- OTA (Over the Air) firmware upgrade (via web interface) without cable,
- asynchronous operation of program code,
- LED indication of switching on of each relay (red, blue),
- Work in an environment without WiFi / Internet access.
- Possibility of shutting down one or all relays – then the controller performs the function of a thermometer or temperature alarm.
Digital hydrometer (Ispindel) is recommended for fermentation control.
If You have iSpindel then first change settings on the iSpindel management
Turn on your Ispindel and change the Configuration parts in the WiFi manager to:
SSID: nautilis-controller (If you have changed the AP SSID then enter the changed ssid here.)
PASS: nautilis-ispindel ssid password (If you have changed the AP Password then enter the changed pass here. The relay comes with a piece of paper with your password written on it.)
iSpindel name: 1-enter_your_name //The first character of the name must be a number. A maximum of 16 characters may be in the name of iSpindel. Some special characters take up more space, so make that number smaller. If the name is too large, there is a possibility of periodic resetting of the device.
Service Type: HTTP
Token: leave blank! // If there is a space here, the device will not connect.
Server address: 192.168.4.1
Server port: 80
Path/URI: /gravity
Don’t forget on the calibration formula! Use the SG calibration table located at this link.
If you use 2 iSpindels:
All settings are the same as on the first iSpindel, except that the name of the second iSpindel must start with the number 2:
iSpindel name: 2-enter_your_name // first digit and then name (max 16 characters)
Nautilis Controller management system
View and edit Controller settings (no internet required)
To view and change the device settings, first connect to the WiFi network that the device transmits, which is usually: nautilis-controller. After connecting to the network, some devices automatically open the Internet browser, and some require you to open the Internet browser and go to the address: 192.168.4.1
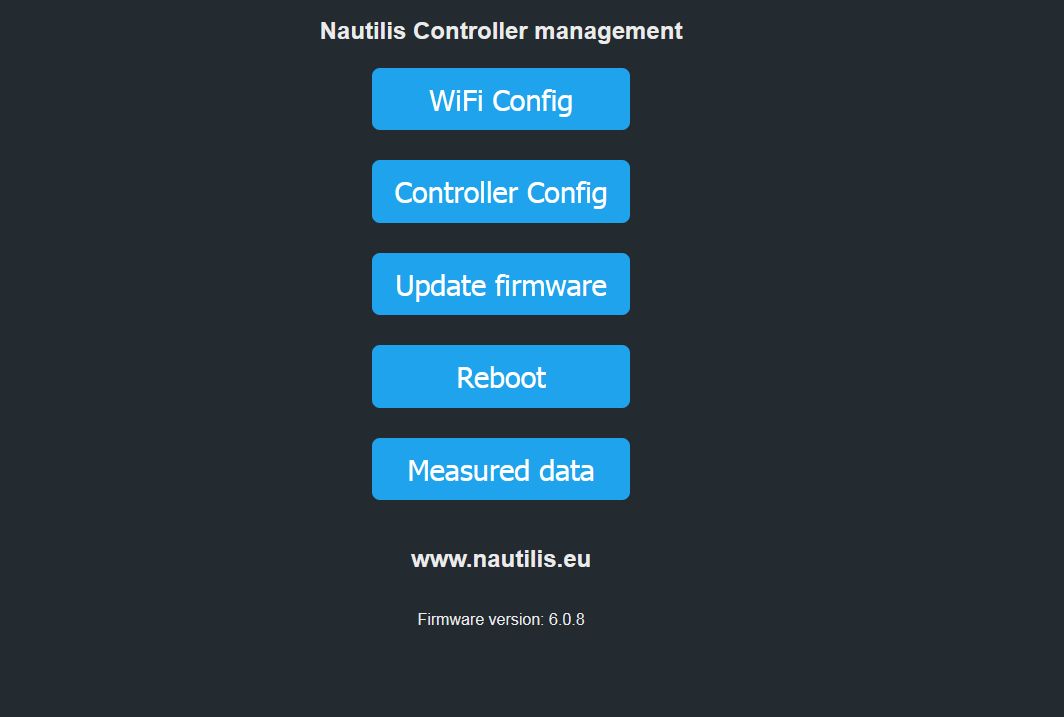
After that, the Nautilis Controller managment home page opens where you can view and edit the following settings:
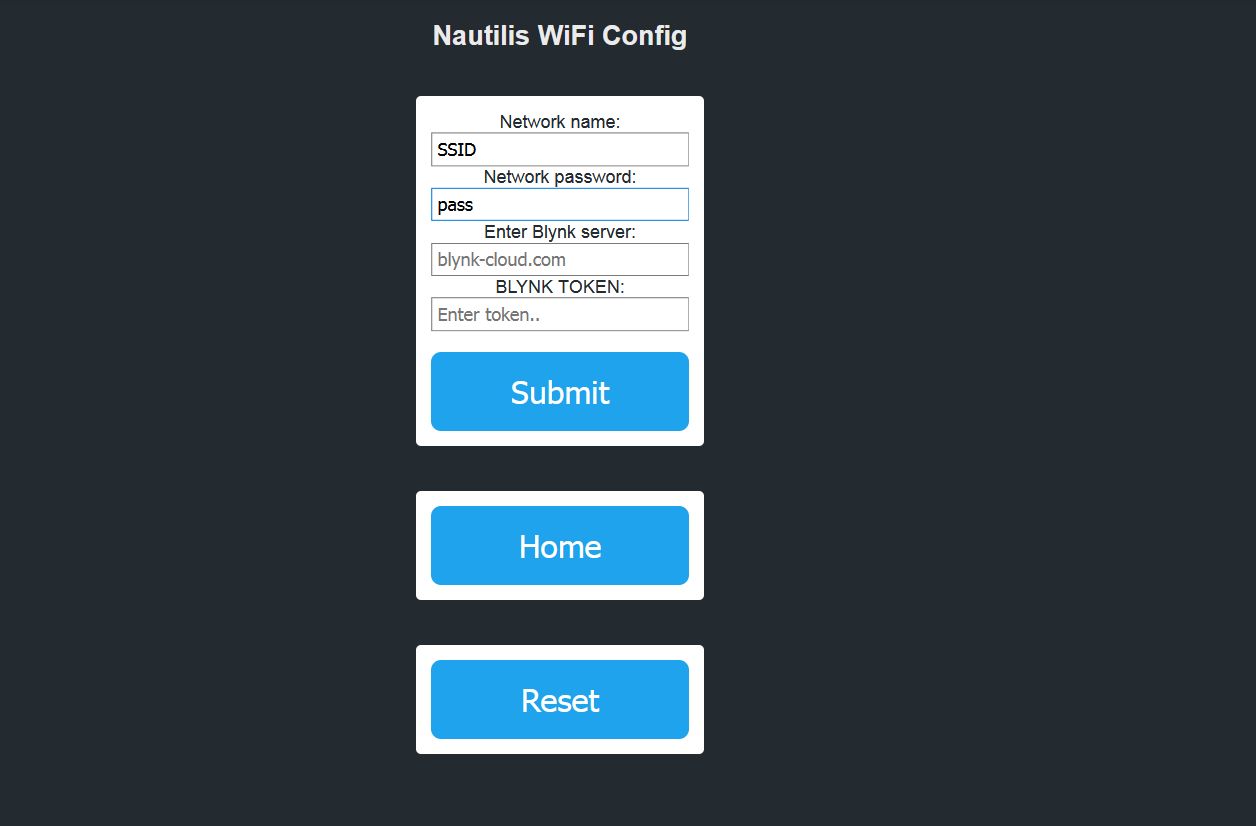
-Configuration (configuration of your WiFi network,Blynk)
Leaving one of the fields blank will save it as blank. The current settings view is at the bottom of the page. After saving, the device needs to be physically restarted, or you can use the Nautilis Controller management and the Reboot menu to make the changes active.
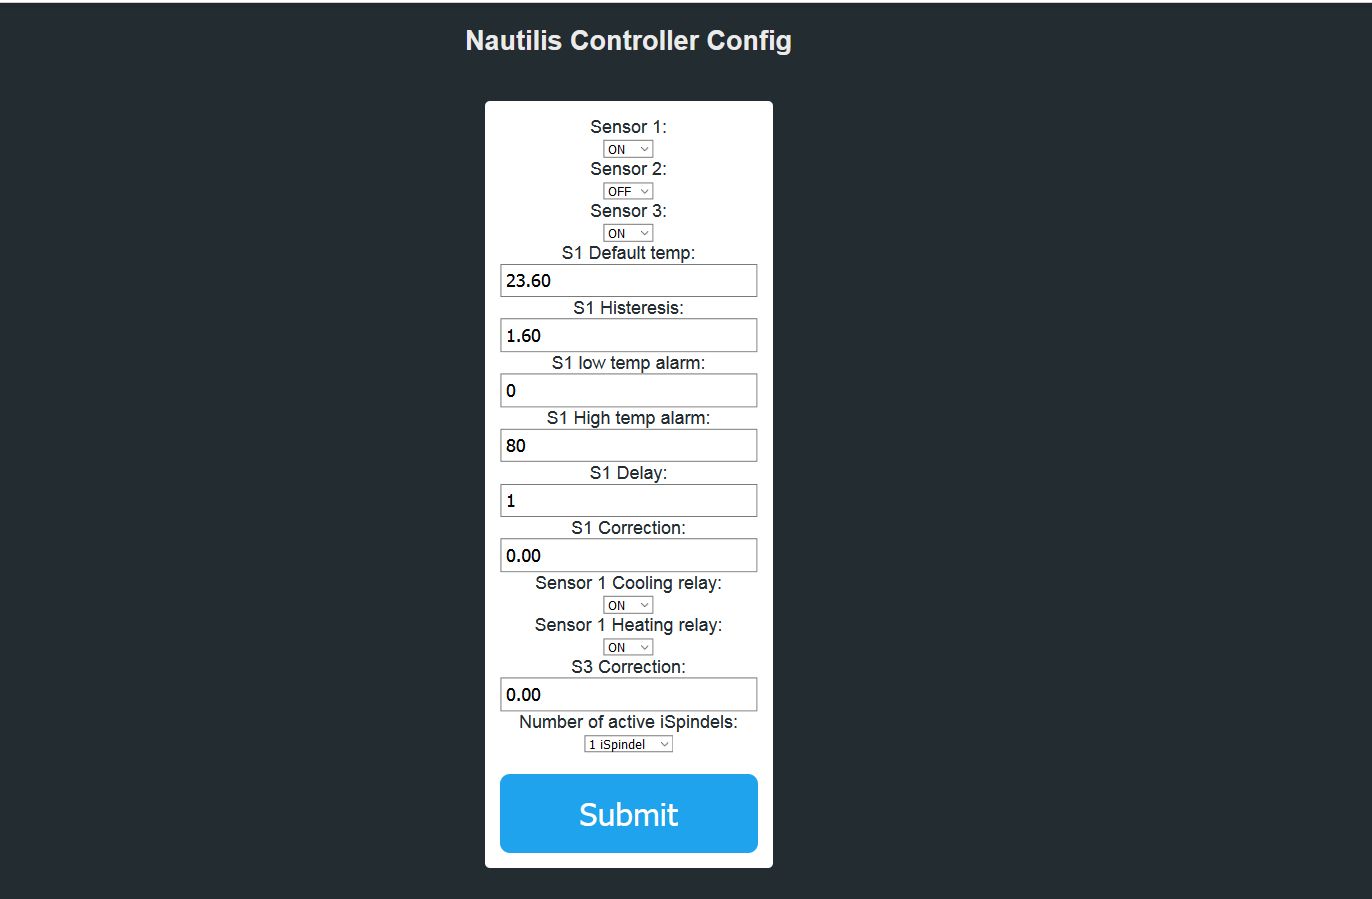
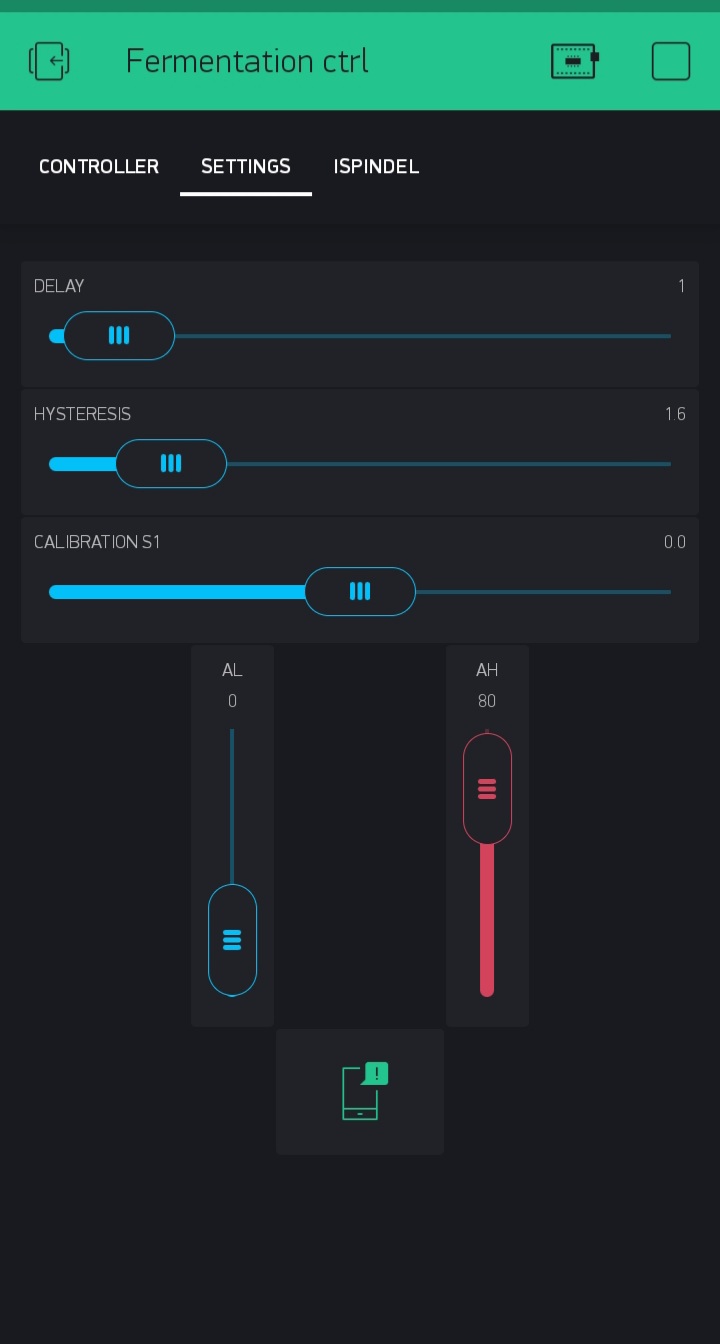
 – Management (Selecting the number of available hydrometers, set desired temp, hysteresis, delay, set high, low alarms and gravity alarm, number of active termometers, number of active relays…)
-Firmware Update Over-the-Air programming (OTA) is a wireless upgrade of the device firmware. Opening the menu will open you an upgrade page. You find the latest firmware on the device you connected to the website and upload the same to the system. when you get the notification Ok, the firmware has been successfully upgraded.
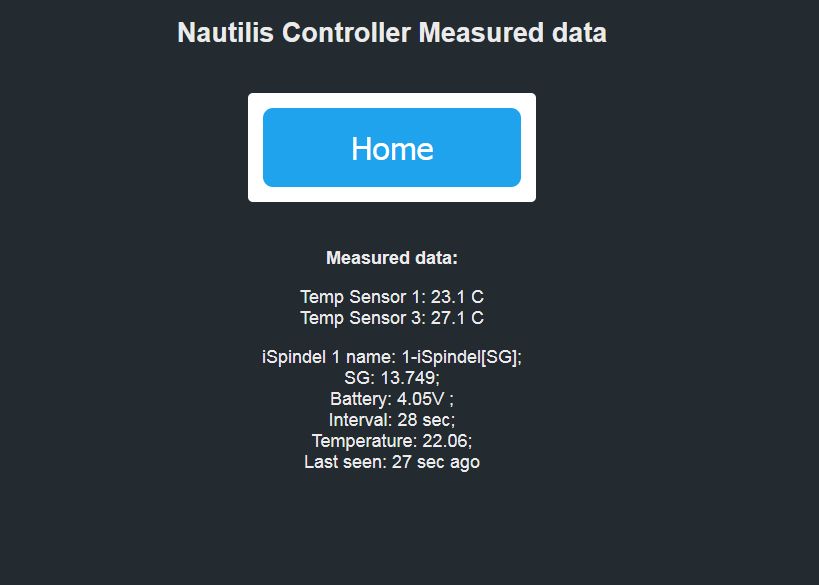
– Measured data
 -Reboot – Opening this link will reboot the device.
Blynk mobile app (Midi Controller)
Blynk application installed on your mobile phone is required for full functionality.
To start using it:
1. Download Blynk App: http://j.mp/blynk_Android or http://j.mp/blynk_iOS
2. Touch the QR-code icon and point the camera to the code below (You need 5600 Blynk energy)
3. Enjoy in app!
Click here to add your own text

